Composting is an excellent way for new gardeners to recycle organic waste and create nutrient-rich soil for their plants. If you’ve been thinking about giving composting a try, you’re in the right place! In this beginner-friendly guide, we’ll walk you through the process of building a simple compost bin and getting started on your composting journey.
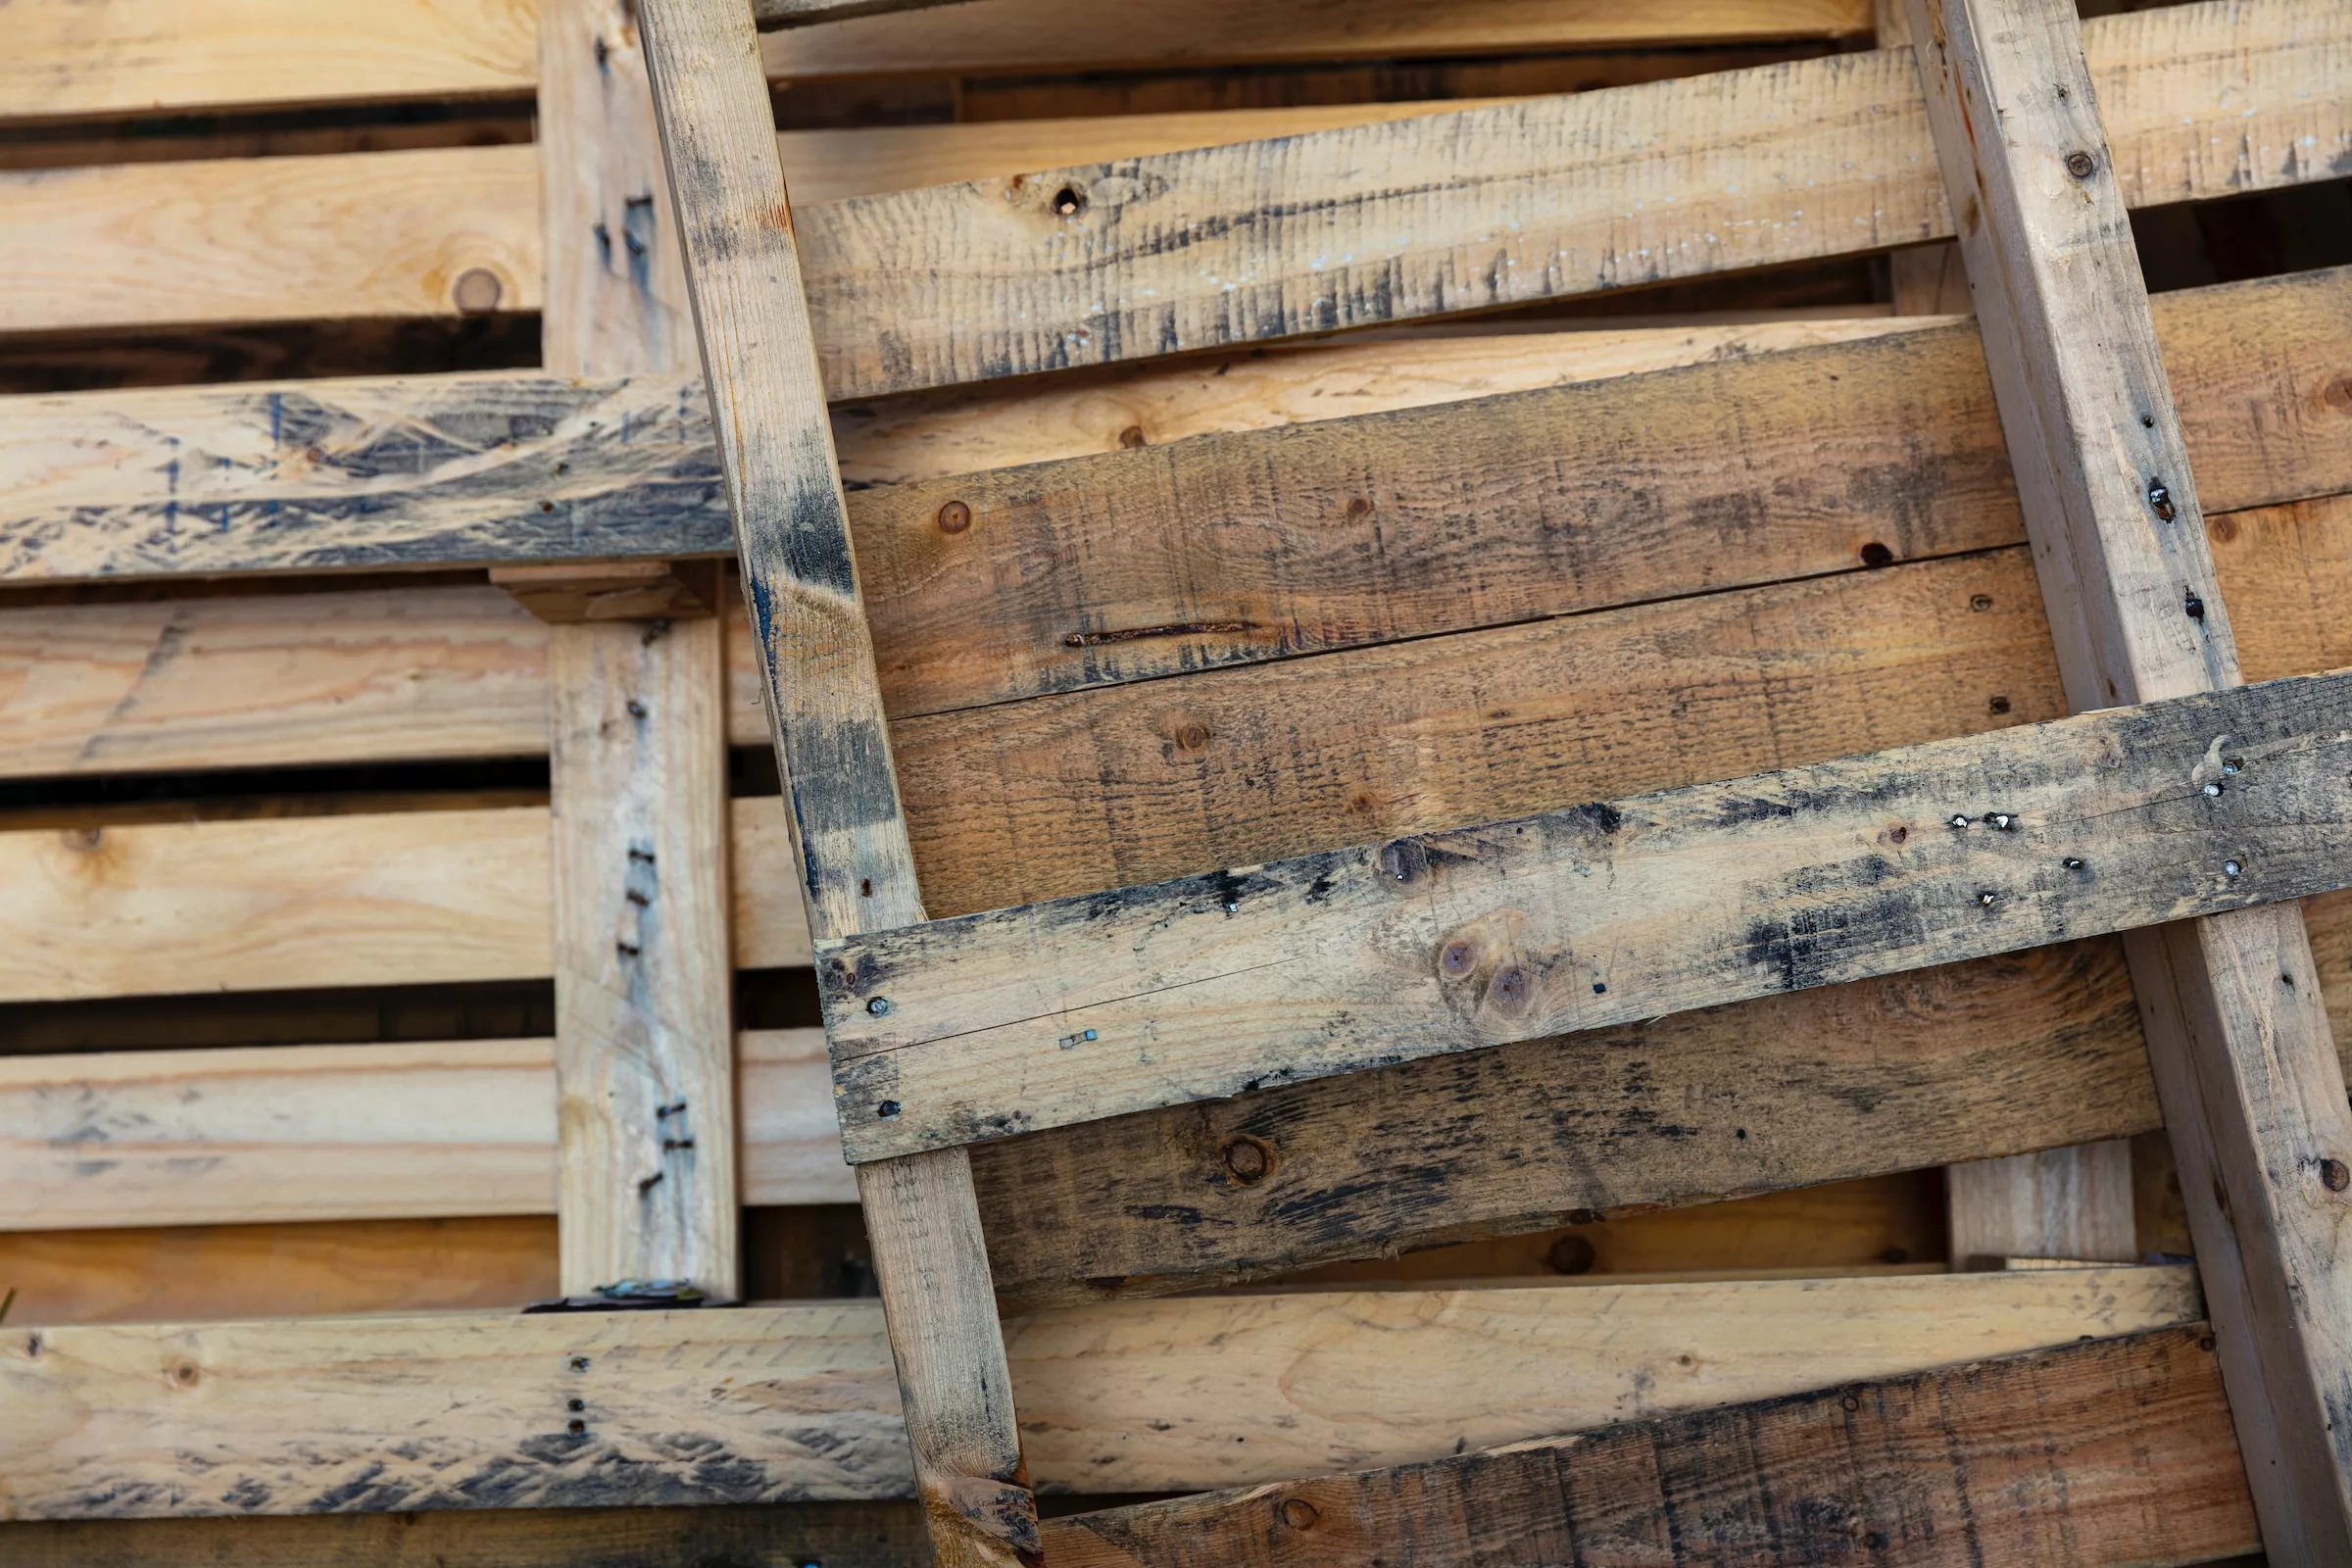
There are many ways to build your composter. We’ve chosen pallets as the material as this makes it cheap and easy.
Materials You’ll Need
To create a basic compost bin, you’ll need the following materials:
- Four untreated wooden pallets (similar in size)
- Galvanized nails or screws
- Heavy-duty garden wire or twine
- A garden tarp or cover (optional)
Step 1: Choose the Right Location
Find a level spot in your garden with good drainage, ideally away from your home but still within easy access. The area should receive a mix of sunlight and shade, as extreme temperatures can slow down the composting process.
Step 2: Assemble the Bin
Begin by placing two pallets on the ground to form a right angle. Fasten them together at the top and bottom corners using the galvanized nails or screws. Repeat this process with the remaining pallets to form a four-sided, open-topped cube. Your compost bin should have plenty of ventilation from the gaps between the pallet slats.
Step 3: Secure the Corners
To give your bin extra stability, loop heavy-duty garden wire or twine around the corners where the pallets meet. Securely tie the wire or twine in place, ensuring the bin is stable and safe.
Step 4: Start Composting!
Now that your compost bin is set up and ready to go, it’s time to discuss what goes into it! There are two primary types of compost materials: “greens” and “browns”. Greens are nitrogen-rich materials such as grass clippings, vegetable scraps, and coffee grounds. Browns are carbon-rich materials like dried leaves, straw, and newspaper. A successful compost pile encompasses a balanced mix of both greens and browns, with a ratio of 3:1 (browns to greens).
Begin by adding a layer of browns on the bottom, followed by a layer of greens. Remember to always cover the greens with another layer of browns to discourage pests and control odors. Turn your compost pile using a pitchfork or shovel every few weeks to ensure proper aeration and faster decomposition.
Step 5: Maintenance and Harvesting
Keep your compost pile moist by watering it occasionally (but not too much—you don’t want the bin to become soggy). If you’d like, you can also cover your bin with a garden tarp to help retain moisture and heat.
To harvest your compost, simply uncover the bottom of one side of your compost bin and scoop out the dark, rich soil. This process can take anywhere from 3 to 12 months, depending on the rate of decomposition.
Now, with your simple compost bin up and running, you’ll be on your way to a more sustainable and fruitful gardening experience. Happy composting!

Join Our Gardening Newsletter for More Tips
If you enjoyed reading this, don’t hesitate to subscribe to our newsletter for a wealth of gardening knowledge and insights. Stay up-to-date on the latest gardening trends, tips, and know-how, and make your green thumb even greener.


